



OASIS NEON SIGNS INSTALLATION GUIDE
HOW TO INSTALL AN LED NEON SIGN ON A WALL
Learn how to install an LED neon sign on a wall using the acrylic backing, wall anchors and metal standoff mounts supplied with your order. This tutorial suits many indoor custom neon lights, including statement neon wall art Australia customers display at home and custom neon signs use in studios, salons, cafés and retail spaces.
Watch the wall installation video first, then use the illustrated steps below as a checklist.
WHAT YOU NEED
- Your LED neon sign with pre-drilled acrylic backing
- Metal standoff mounts and caps
- Screws and wall anchors suitable for the wall
- Pencil, tape measure and spirit level
- Drill and the correct drill bit for the wall material
- Screwdriver or driver with the correct bit
- Supplied power adapter, controller and remote
- Optional cable clips or a cable-cover channel
STEP-BY-STEP NEON SIGN WALL INSTALLATION
-
 1
1CHECK THE WALL-MOUNTING HARDWARE
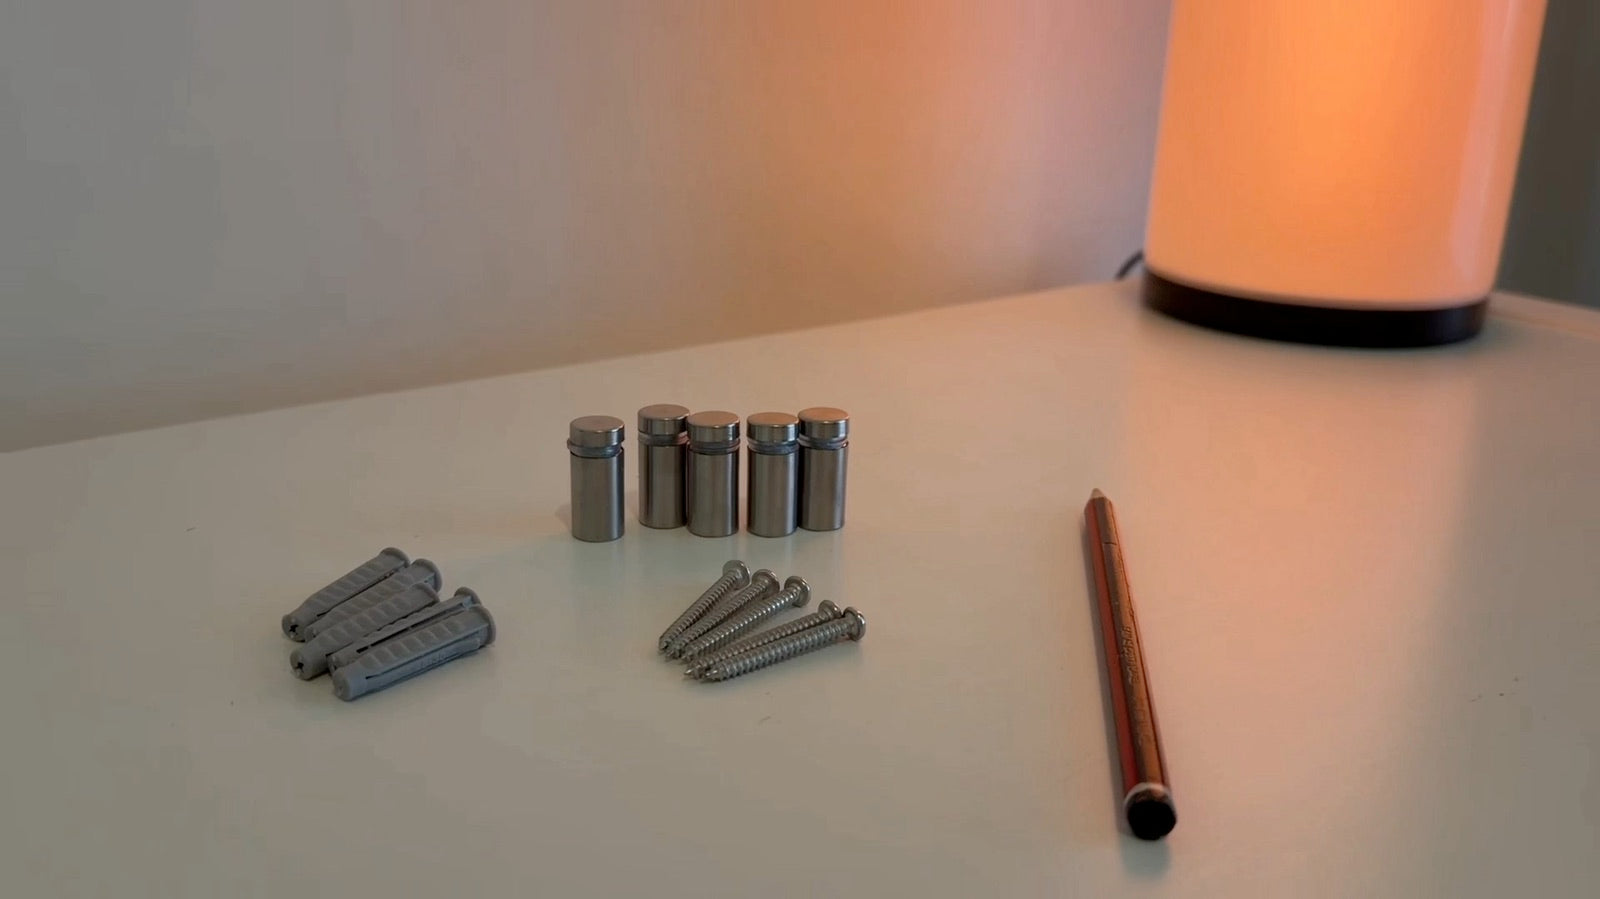
Lay out the standoff mounts, screws, wall anchors and pencil. Separate the front caps from the cylindrical bases. Confirm that every fixing is suitable for the wall material and rated for more than the sign’s total weight.
-
 2
2POSITION AND LEVEL THE LED NEON SIGN
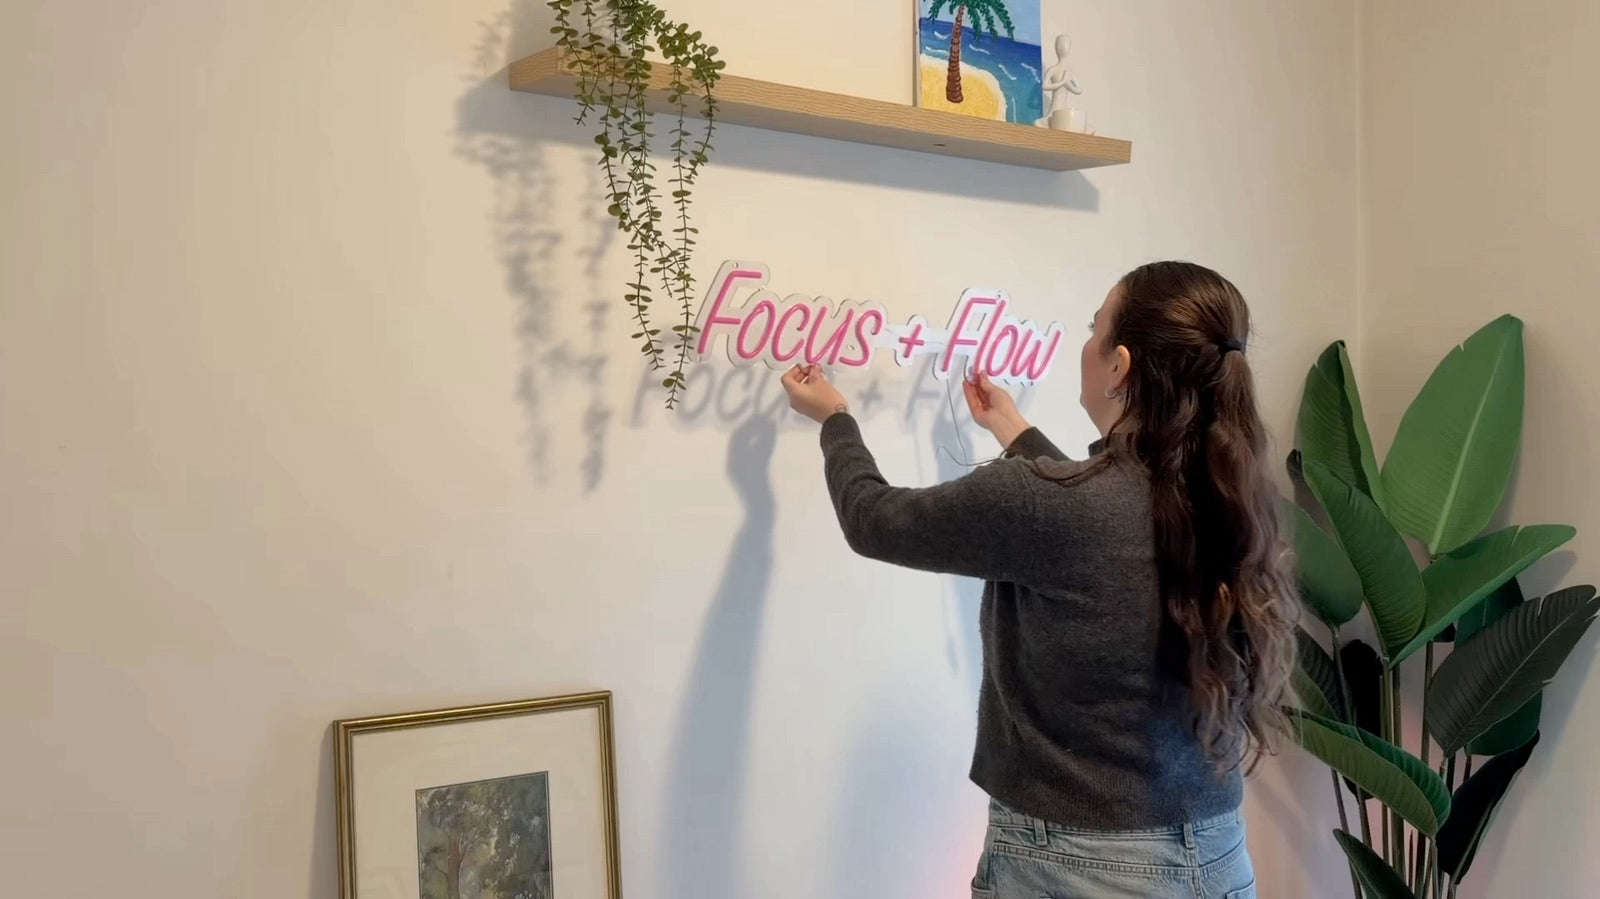
Hold the acrylic-backed sign in its intended position. Check the viewing height and make sure the power cable can reach a suitable outlet without stretching. Use a spirit level before marking any holes.
-
 3
3MARK THE MOUNTING HOLES
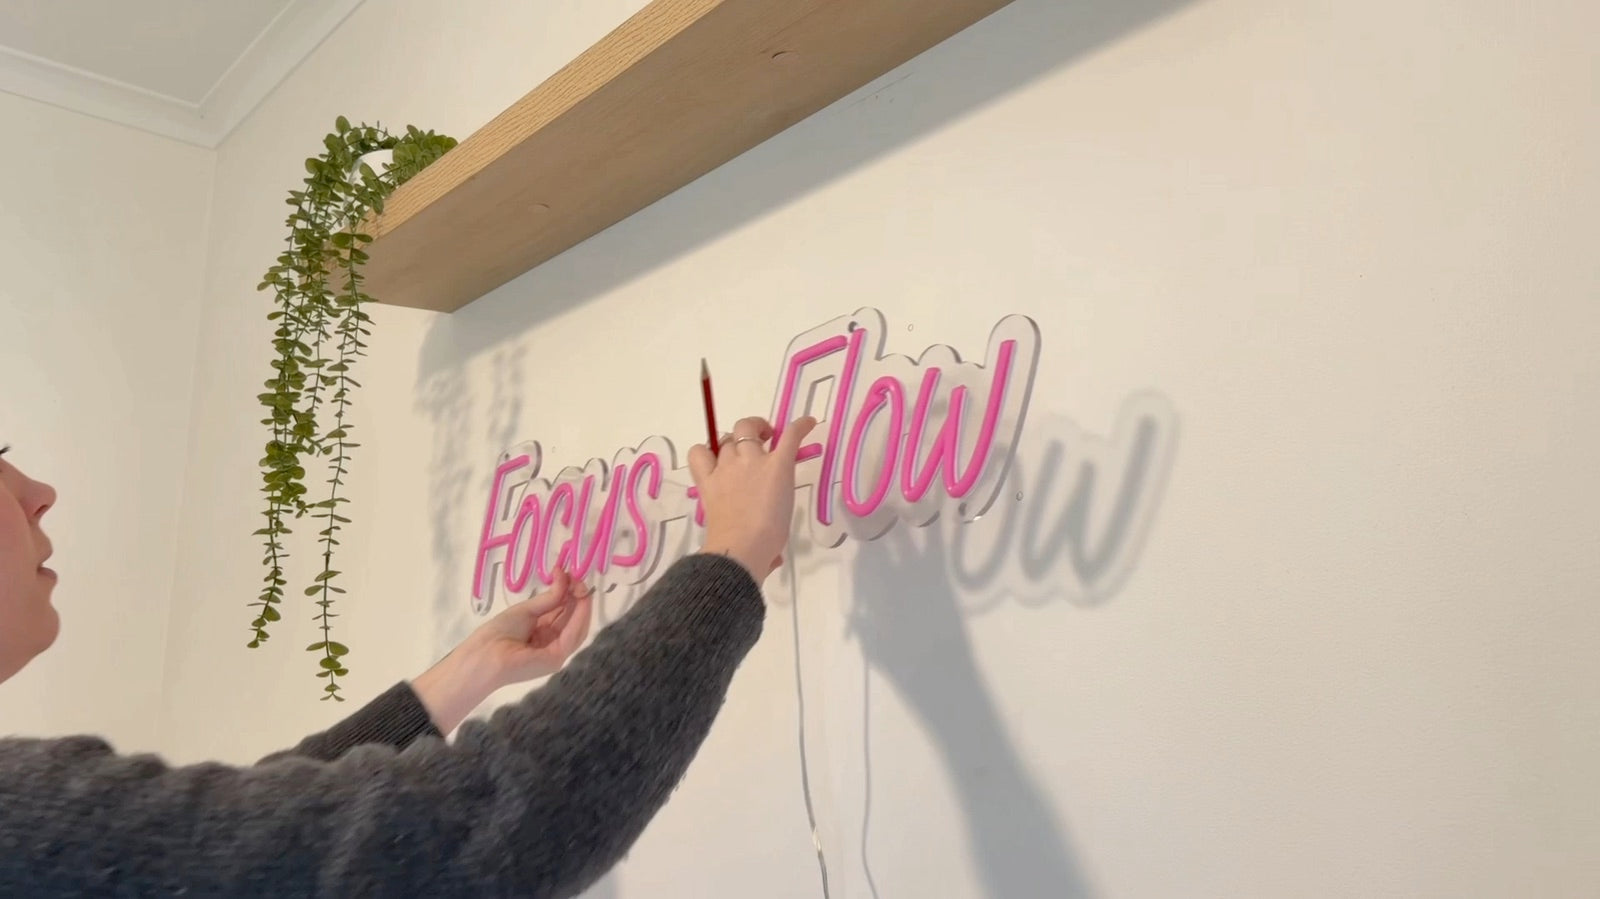
Keep the sign steady and mark the wall through every pre-drilled hole in the acrylic. Recheck the alignment before removing the sign. Never drill extra holes through the acrylic because it may crack.
-
 4
4DRILL THE HOLES AND INSERT THE WALL ANCHORS
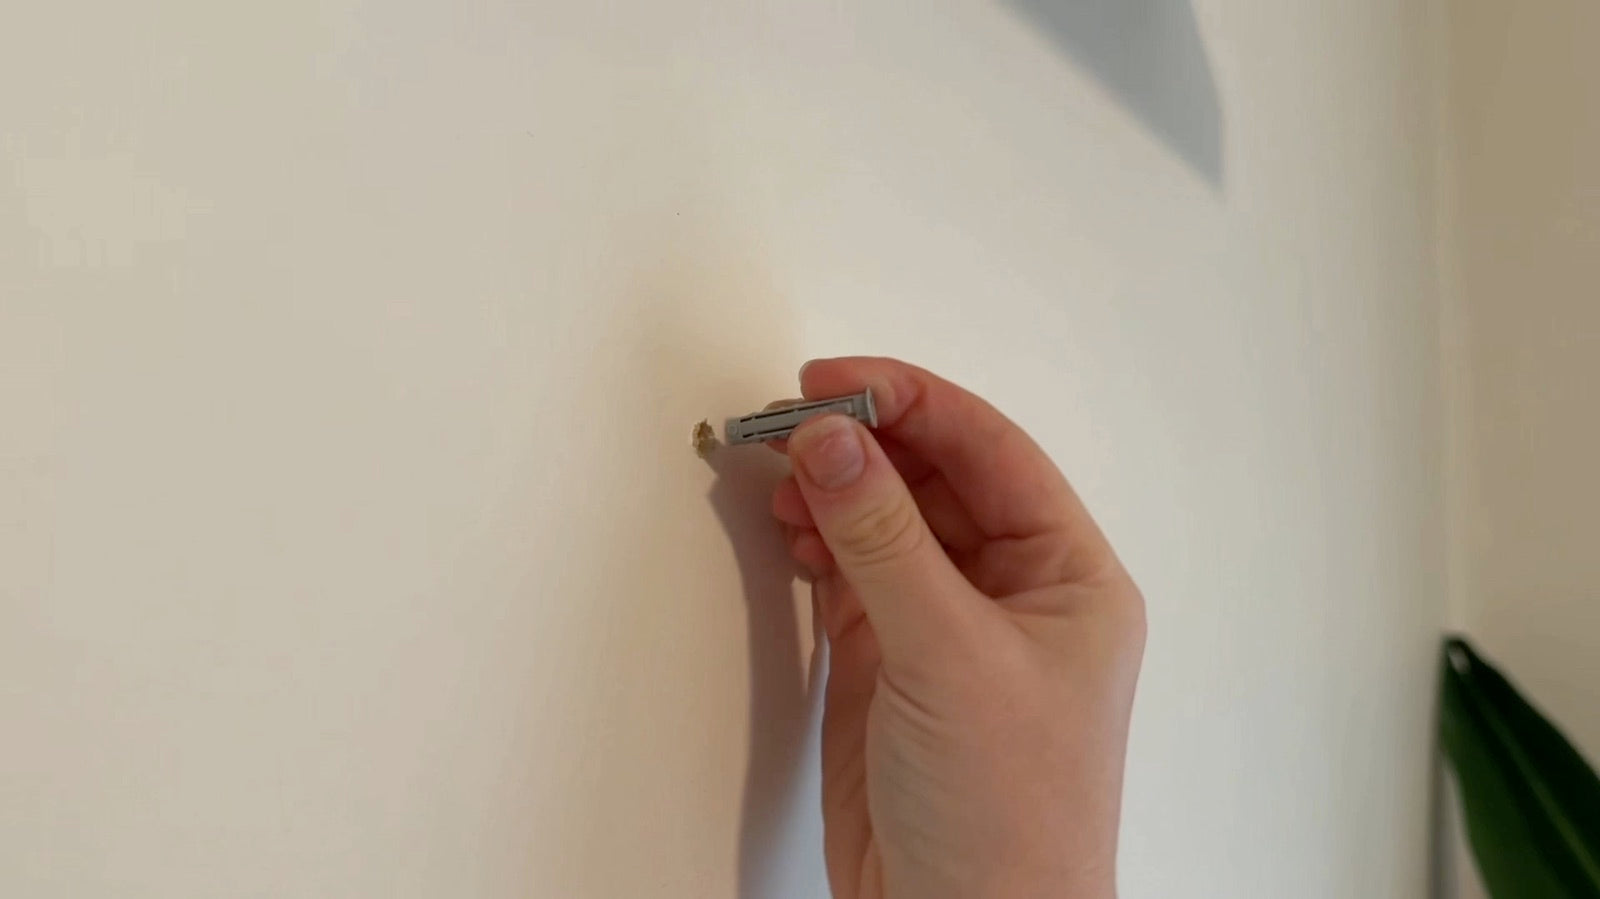
Move the sign somewhere safe. Check for concealed wiring, pipes and services, then drill with a bit suitable for the wall and anchor. Insert each anchor until it sits flush with the surface.
-
 5
5SECURE THE STANDOFF BASES
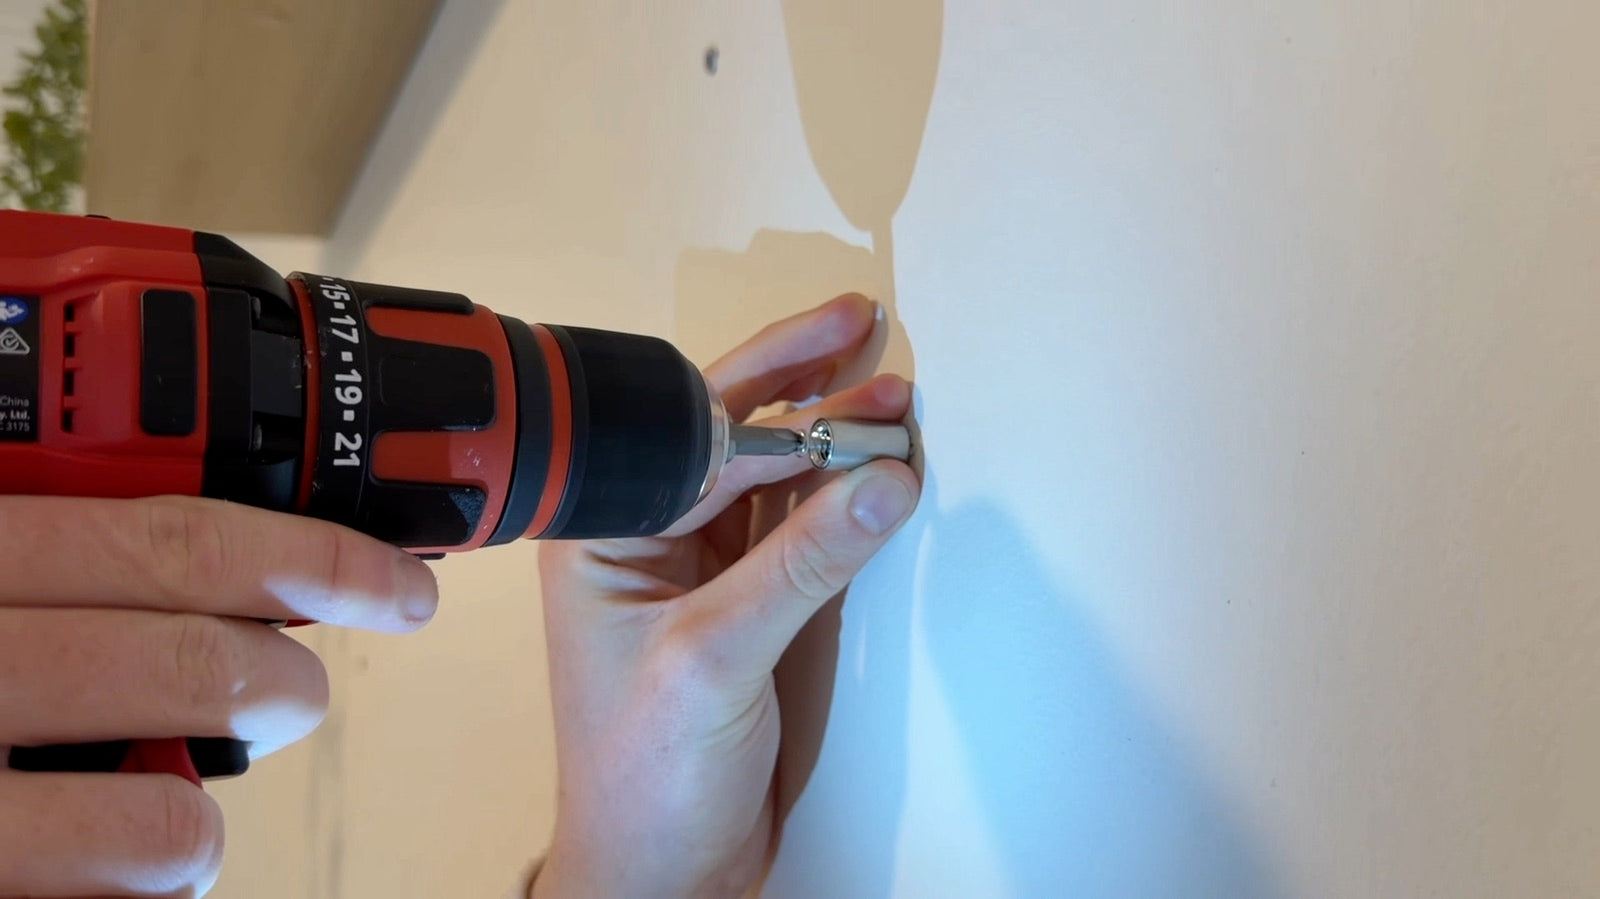
Place a cylindrical standoff base over each anchor. Drive the screw through its centre until the mount is secure. Avoid overtightening, and check every base before lifting the sign back into place.
-
 6
6ATTACH THE ACRYLIC NEON SIGN BACKING
Align the acrylic holes with the installed standoffs. Support the sign while fitting the front caps, then hand-tighten them evenly. Do not overtighten the caps against the acrylic.
-
 7
7CONNECT THE LED NEON SIGN POWER CABLE
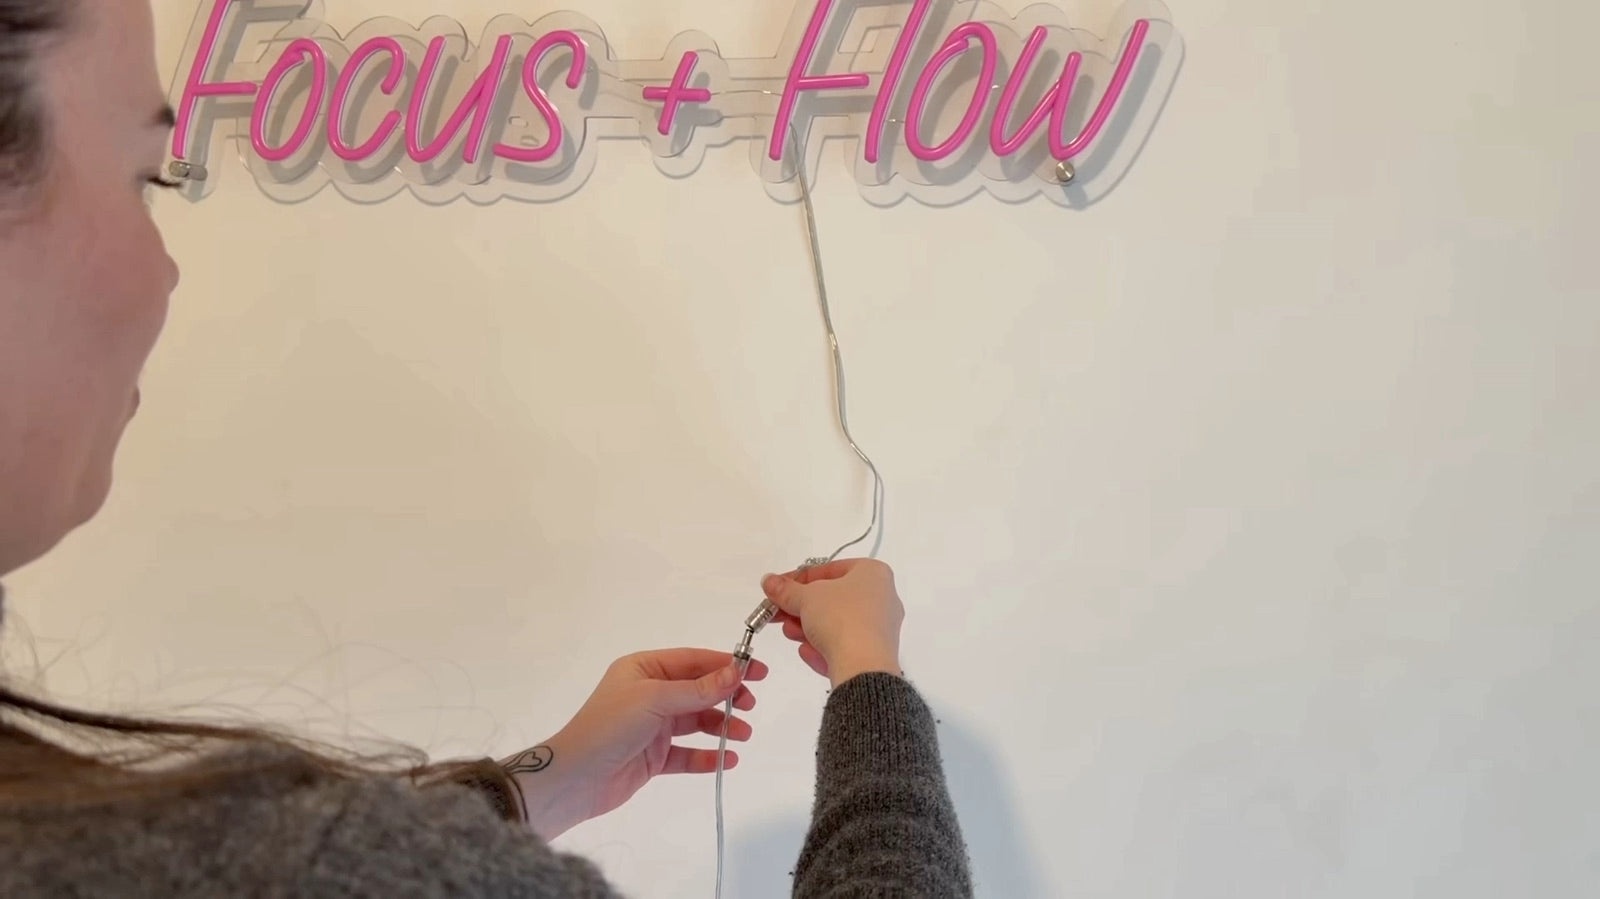
Keep the power adapter unplugged while connecting the sign’s low-voltage lead to the supplied controller or cable. Align the connectors and tighten any threaded collar without forcing it. Use approved power equipment only.
-
 8
8SWITCH ON THE SIGN AND TEST THE REMOTE DIMMER
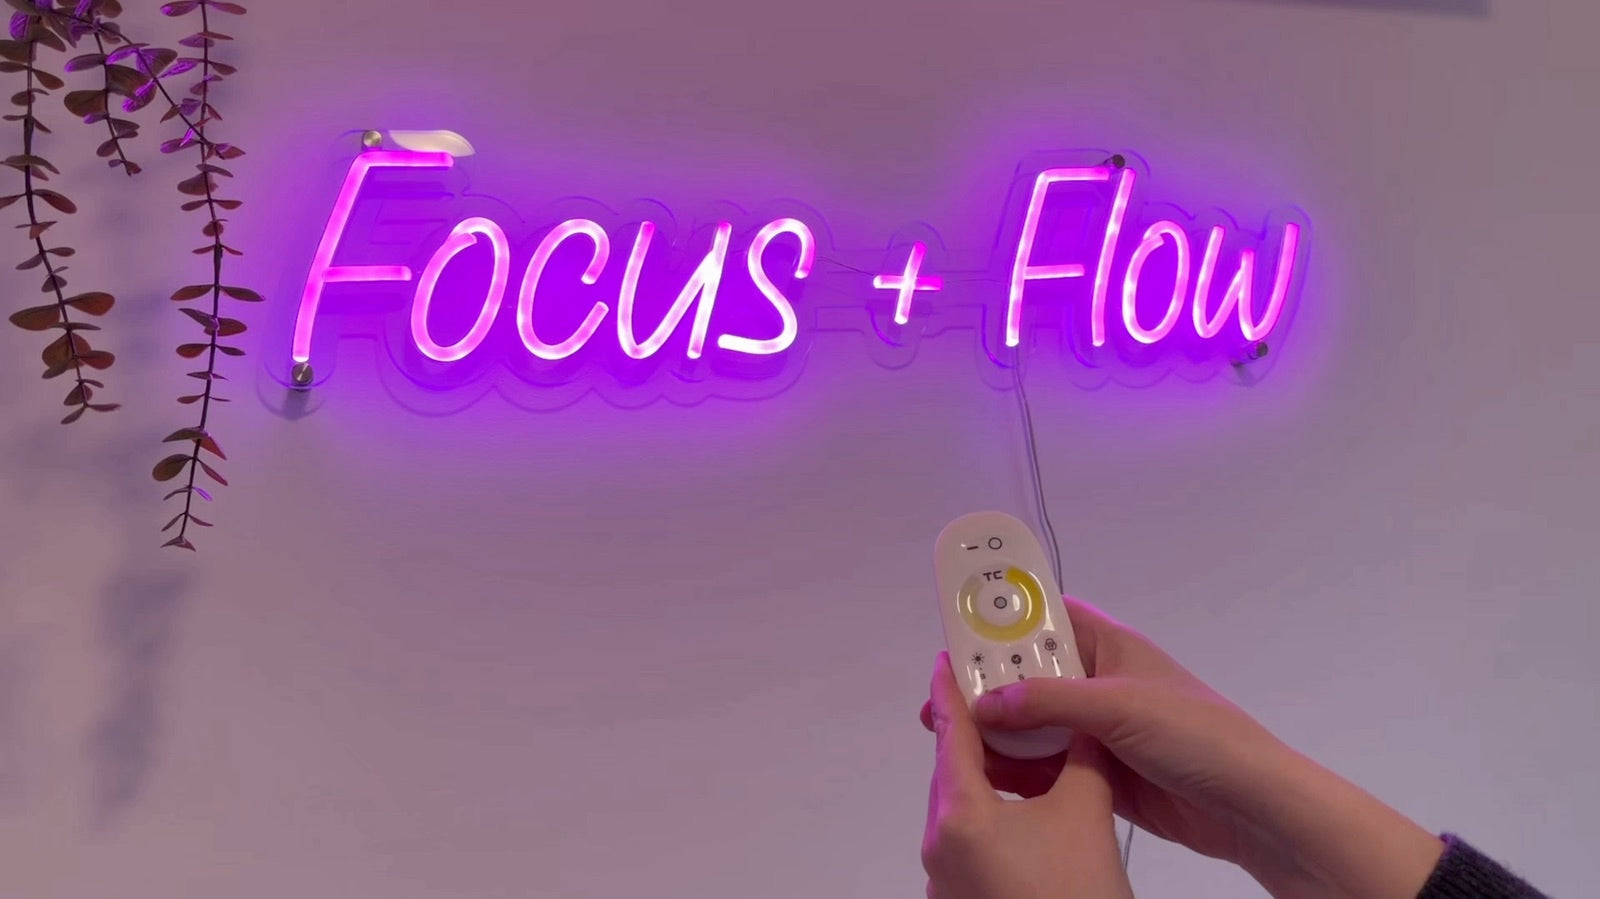
Connect the adapter to the outlet and switch on the sign. Test the power and brightness controls. If it does not illuminate, disconnect the power and check each low-voltage connection before trying again.
-
 9
9TIDY THE CABLE AND ENJOY THE FINISHED SIGN
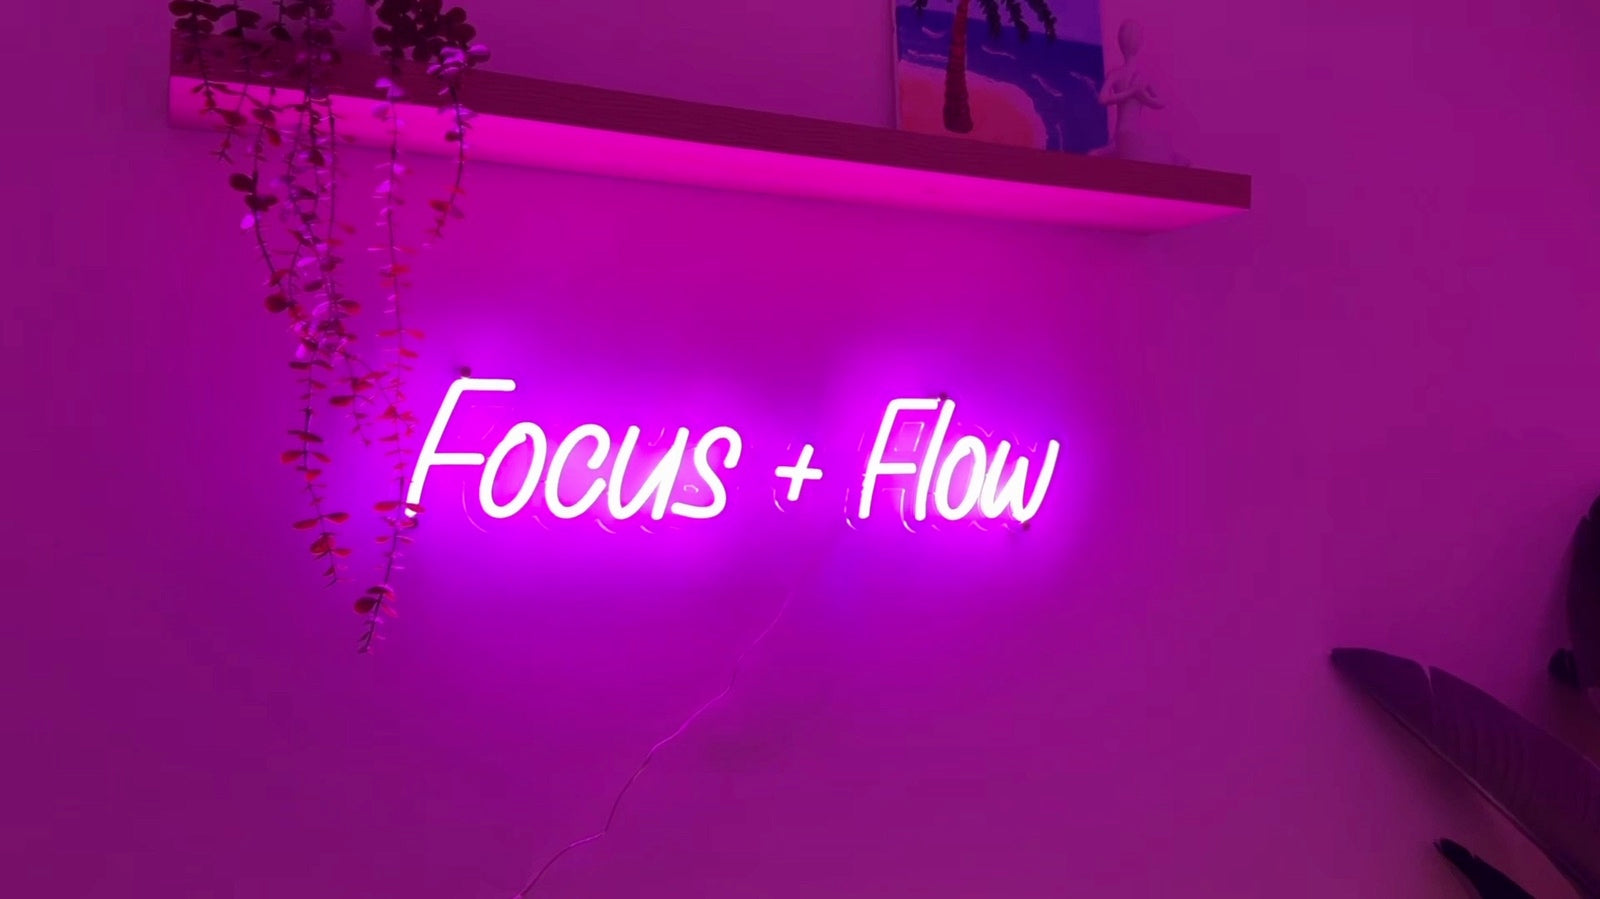
Route the cable towards the outlet with suitable clips or a cable-cover channel. Leave a little slack near each connector, avoid sharp bends and keep the power adapter ventilated and away from water.
COMMON NEON SIGN INSTALLATION QUESTIONS
CAN I INSTALL AN LED NEON SIGN MYSELF?
CAN I MOUNT A NEON SIGN ON PLASTERBOARD OR DRYWALL?
WHAT ARE THE METAL SPACERS BEHIND THE NEON SIGN?
HOW DO I HIDE THE NEON SIGN POWER CABLE?
WHY IS MY LED NEON SIGN NOT TURNING ON?
CAN I USE THE SUPPLIED WALL ANCHORS ON EVERY WALL?
READY TO CREATE YOUR NEON?
Create a personalised text sign online or upload your logo and artwork for a tailored recommendation from the Oasis design team.